Set time on IP Office

VM Pro/Manager:

The time is normally obtained using Time protocol (RFC868) requests. Note this is different from Network Time Protocol (NTP). The Voicemail Pro server and the Manager program can both act as Time servers, other RFC868 server sources are not supported.

If the IP Office system time is wrong, open Manager, and check:

System ➤ System tab ➤ Time Setting Config Source = VoiceMail Pro/Managermantad1.png

Note that if you are running Manager when the Voicemail Server starts, Voicemail does not start it’s time server daemon. Therefore, always close Manager before you start or restart Voicemail Pro.

read more

Re-config IP500 w/DTE

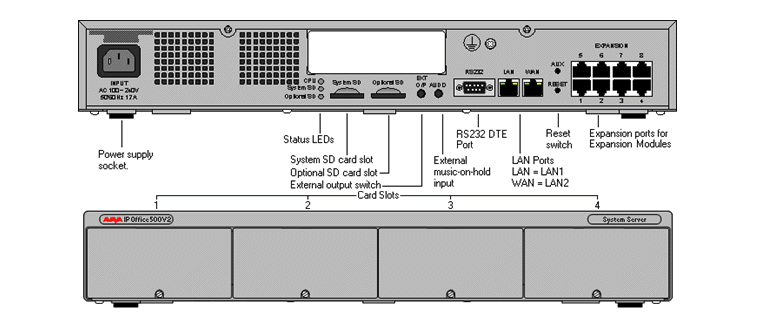
The DTE port on the back of an IP Office Control Unit is not normally used when configuring an IP Office system. However the DTE port can be used to erase the system’s operational software and/or configuration if necessary.

Due to the drastic nature of these actions they should only be performed if absolutely necessary to return a system back to working order. In either case you must ensure that you have a backup copy of the system configuration.

Access to the DTE port requires a serial cable between your PC/Laptop and the IP Office (such as a standard modem cable).

read more

Editing an IP Office configuration in Excel

Back to IPOfficeHelp.com

HOWTO: Editing an IP Office configuration in Excel
Kyle L Holladay, Sr

Many items in your IP Office configuration can be edited directly in the configuration.csv file outside of the Manager application saving a large amount of time. This guide will provide basic information on how to export your configuraiton.csv and edit select User information. Until you are comfortable with this method I would suggest that you limit its use to a lab environment

Note: You MUST NOT add nor delete any records when using this method. (i.e. you cannot add/delete an extension, user, incoming call route). You must create all records in Manager before doing your Export. You can then modify the information associated with that record using the method below.

read more

Default Security Settings via DTE

If you have forgotten the security settings, and need to reset them, you can do so as long as you are on site….

This will reset all security settings, but will not affect the config at all…YAY!

Start the terminal program on your PC.  Ensure that it has been setup as listed in DTE Port Settings.

Once connected, enter AT (note, it is upper case)

Then enter, AT-SECURITYRESETALL

You will be prompted to confirm the control units MAC address before continuing.  Enter teh MAC address.

After approximately a minute, the control unit will respond with an OK when the action has been completed.

read more

Free IP Office SMDR Server

IP Office has the ability to send SMDR info by default, FOR FREE!  You just need something to grab the info….

(Also, a great tool from a Tek-Tips user, Dave Hope. https://davehope.co.uk/projects/smdr-receiver/)

Quick Links:

  1. How to access IP Office for Basic SMDR
  2. Background Information
  3. Installing NCAT
  4. Overview
  5. NCAT Installation
  6. Configure IP Office
  7. Create a Batch File to start listening on the Port
  8. How to access IP Office for Basic SMDR
  9. Create a Batch File to End NCAT
  10. Test your Files
  11. Creating Scheduled Tasks
  12. Test you Task schedule
  13. Appendix A
  14. Sample Batch Files
  15. Sample Task Scheduler Files

How to access IP Office for Basic SMDR

The purpose of this document is to provide guidelines for configuring IP Office and a PC to be able to receive basic SMDR information that can be accessed using an application that can view / open a .CSV File.

By default, IP Office provides the ability to retrieve RAW SMDR information. This document will explain how to use an open source application called NCAT to listen for SMDR transmissions from the IP Office and write the records to a .CSV file format.

read more

Install SIP phones on IP Office

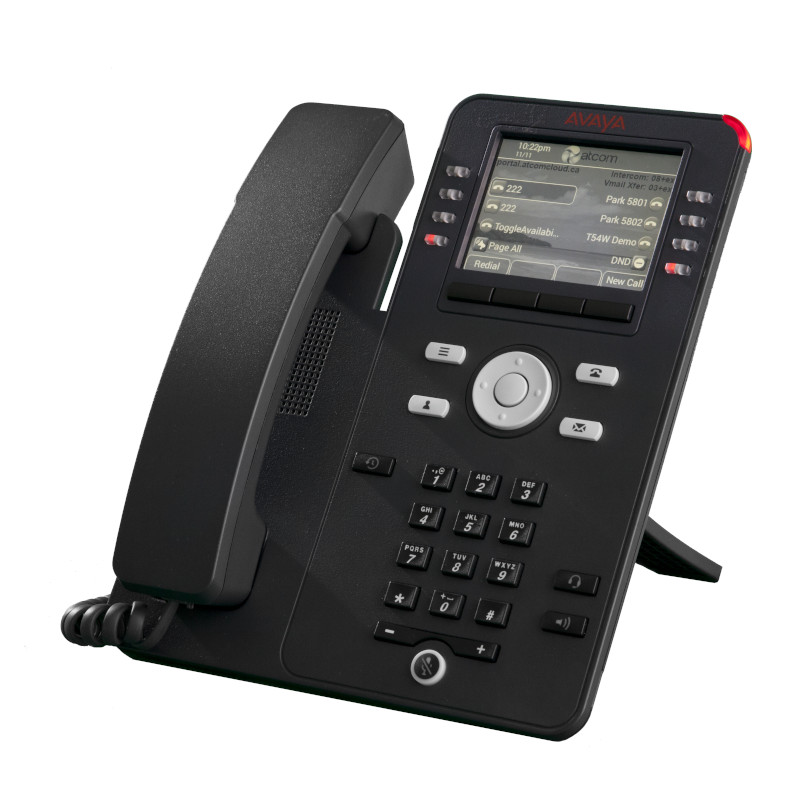
Had a few calls from customers on SIP phones.  Obviously, if you are using the J100 series on IP Office R11, you are going to have to implement SIP phones.  J100 ONLY run SIP, when connected to IP Office R11.  HOWEVER, they do work on R10.1, but ONLY as h323 phones.  So, why would you downgrade all those phones just to run them on 10.1, when 10.1 will be going EOS with the next major release?  Just upgrade the damn IPO.

So, to get the J series working, we need some settings within IPO set, and then the IPO will autogenerate the 46xxsettings.txt file.

read more

SIP Remote Worker

With SIP remote worker, there a re a few things that need to be done, prior to anything working. If using TLS, you need a certificate (Here we created a 3rd party certificate for IP Office).

Once the certificate is set, you need some settings in the IP Office.  Once those are set, your 46xxsettings.txt file should auto-generate.

Here are the settings for the IP Office:

Equinox Client Setup.  Now you can configure the equinox client.  if you need to configure Spaces, see this thread (Automate Spaces Install).

read more

Short Codes Explained

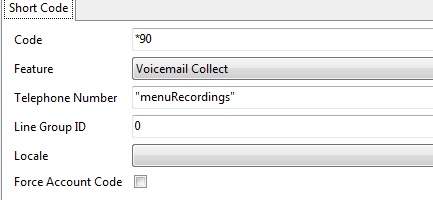
Sometimes IP Office Short Codes can be a little tough to understand.  Lets dissect them for a minute.

The IP Office uses short codes to match the number dialed to an action. The number dialed or part of the number dialed, can be used as parameter for the feature.

The following types of short code applied to on-switch dialing. The result may be an action to be performed by the IP Office, a change to the user’s settings or a number to be dialed. The order below is the order of priority in which they are used when applied to user dialing.

read more

My IP Office system is not on a network. How do I connect & log in?

If your IP Office is not on a network and you wish to log in and connect to your IP Office system follow the steps below:

  • Connect an Ethernet cable to the LAN or the WAN(LAN2) Port, and to a stand-alone PC. The ports are located at the back of the IP Office System.
  • Ensure the PC is DHCP enabled.
  • Double click on the IP Office Manager icon on your PC’s desktop or click on Start > All Programs > IP Office > Manager.
  • When opening IP Office Manager it will check for the IP Office System. If the PC doesn’t locate the IP Office system, leave the TCP Discovery default IP address as 255.255.255.255 and click the Refresh button.
    Important note:
    The WAN (LAN2) default IP address is 192.168.43.1
    The LAN (LAN1) default IP address is 192.168.42.1
  • If a Windows Security Alert appears, select Unblock to allow the program to run.
  • If the manager locates an IP Office system, tick the box next to the default IP address and click Ok. This will open the configuration log on page.
  • Enter the Administrative Server username and password and click Ok to access the system’s configuration.
    Note: the default Username and Password is Administrator.
  • The IP Office configuration will now load and you can make any necessary changes.
  • read more